How To Set up Your Ecommerce Shop on Facebook
Do you have a WooCommerce-based ecommerce store? Have you ever thought about selling your products from Facebook page?
With more than two billion users, according to the latest figures of June 2017, Facebook has become the must-have social networking platform. A real El Dorado for major brands who have not hesitated to use it to promote their products via fan pages!
How To Create and setup Facebook Store Page
Whether you are a big retailer or a local business, you can always add a shop section to your Facebook page and start selling products in just a few minutes.
The advantages offered by a Facebook page are numerous:
- Virality of information communicated appear in the news feed of people who “Like” your page
- Indexing in search engines since Facebook pages are public
- Easy promotion to the outside of Facebook with widgets
- Significant development potential due to a large number of applications
- Eligibility for the internal advertising network
- Internet analytics system
To help you create a Facebook page for your business, I have prepared a quick tutorial to introduce you to the main steps.
1. Create Facebook Store Page
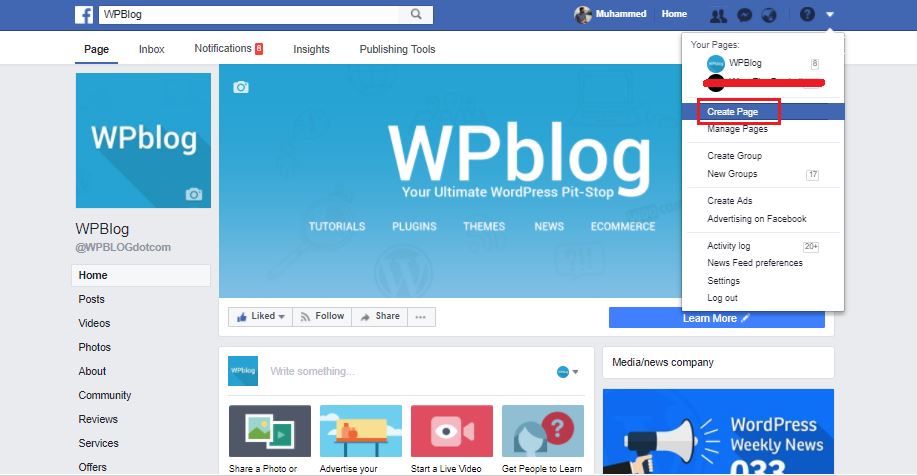
Log in to your Facebook account, then go the top-right menu and click on “Create Page”.
After that, you can see multiple categories such as: “Local business or place”, “Company Organisation or Institution”, “Brand or product” etc. Choose from the category that best reflects your business field.
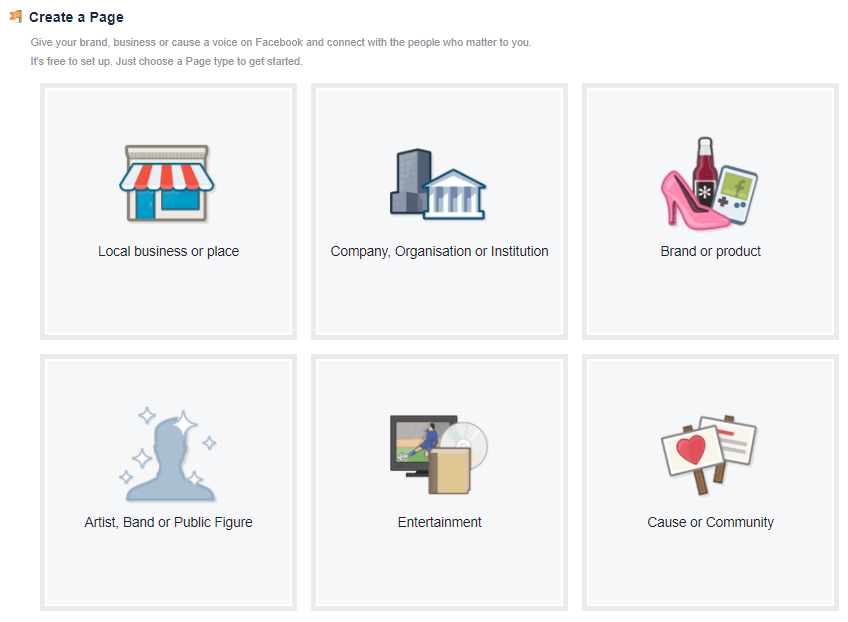
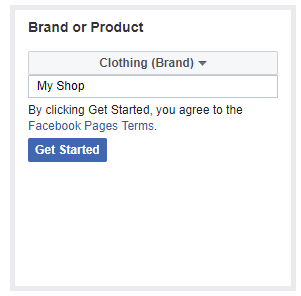
Now click on “Brand or product” and select sub-category as “Clothing (brand)”. Name your brand or product name and click “Get Started” button.
Note: I choose “Clothing (brand)” as my sub-category and name it “My Shop”, however, you can set different name and choose from the other ones.
Next, it will show you some steps, you need to follow this steps and then click to the “Save Changes” button.
Now you can see the below image the Facebook page is ready for action.
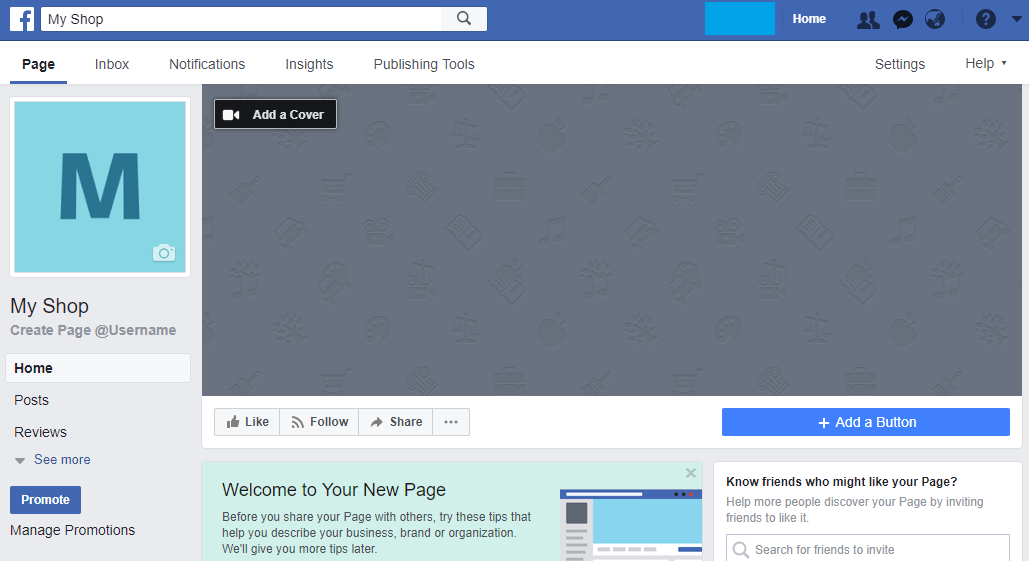
This is not over yet. I still have to add some more things like profile pic, cover photo and other page content. However, the change is enough for the purpose of this tutorial.
Now move to the next step.
2. Install Plugin to WooCommerce Store
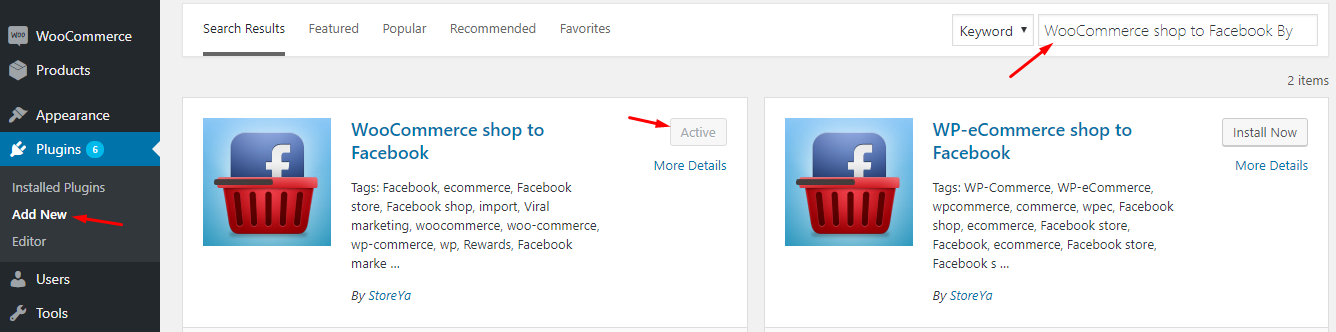
To connect your WooCommerce store on Facebook page, you need to use WooCommerce Shop to Facebook plugin.
Go to your WordPress Admin Dashboard, navigate to Plugins > Add New. From the right side, search “WooCommerce Shop to Facebook By StoreYa” then install and activate the plugin.
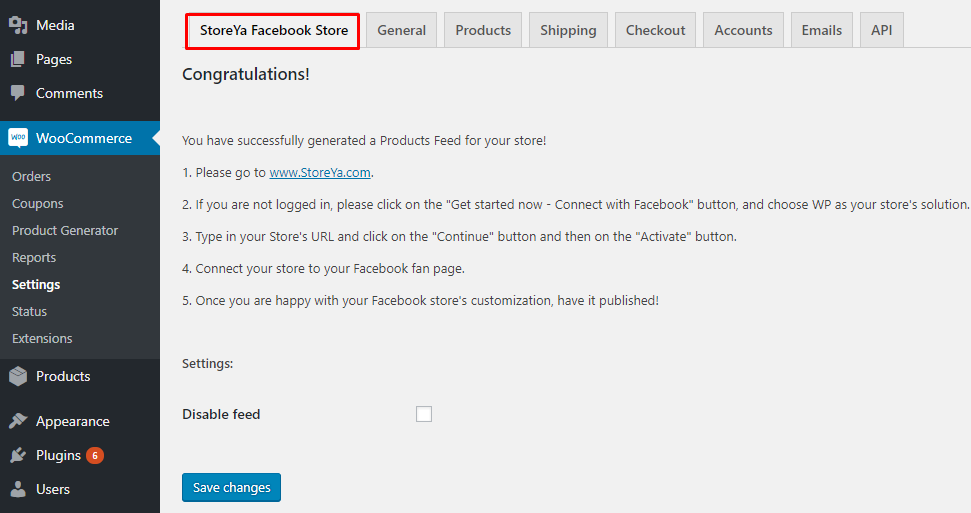
After activating the plugin, you can see the tab of “StoreYa Facebook Store” appear in WooCommerce > Settings.
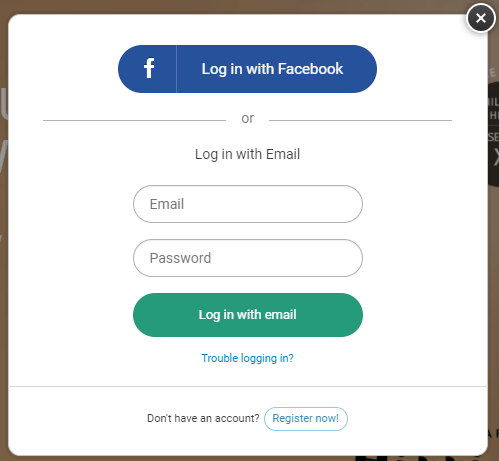
3. Register on StoreYa Account
If you don’t have an account of StoreYa, click “Register now!”. And if you already have one, click “Log in with Email” or “Log in with Facebook”.
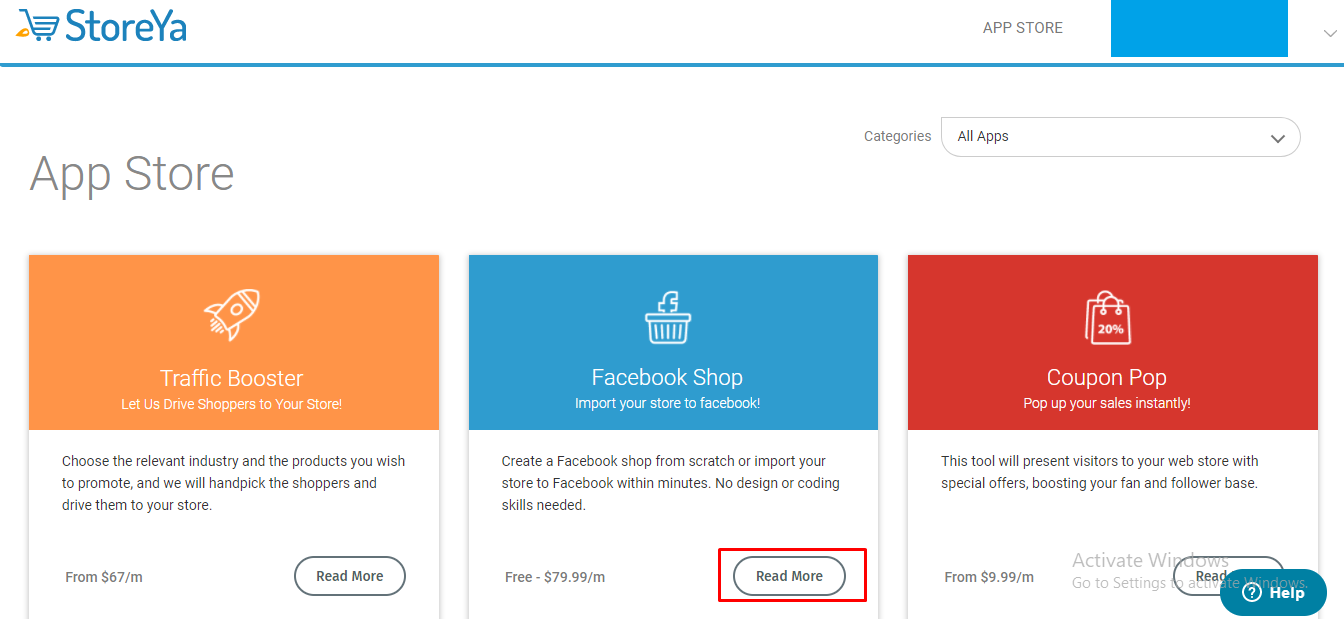
Next, you can see “Facebook Shop” option and click “Read More” button.
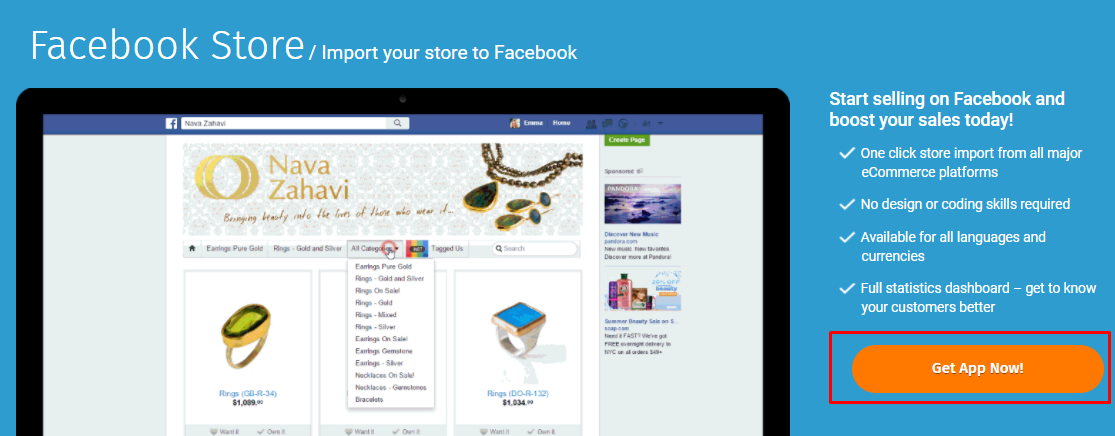
After that, click “Get App Now!” button.
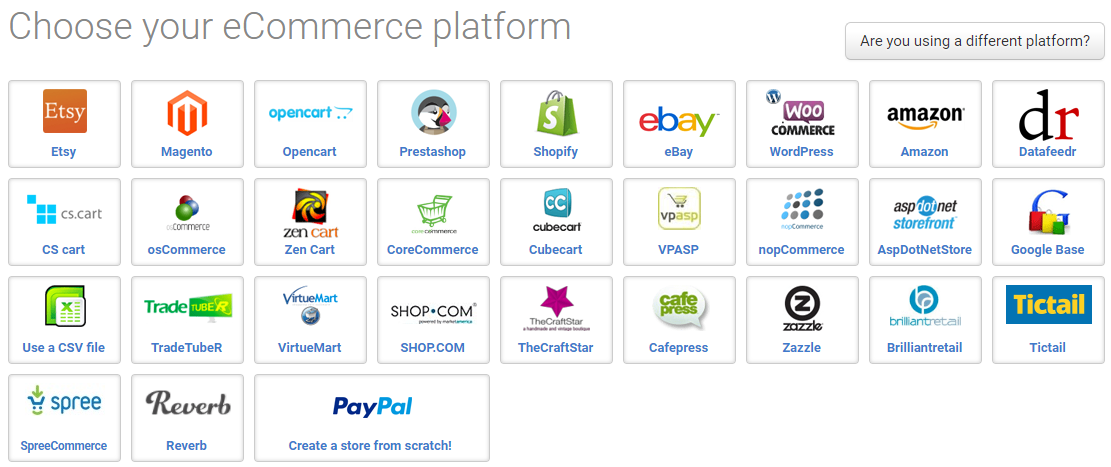
Choose your eCommerce platform as “WooCommerce”.
Enter URL of your ecommerce store and click “Continue” button.
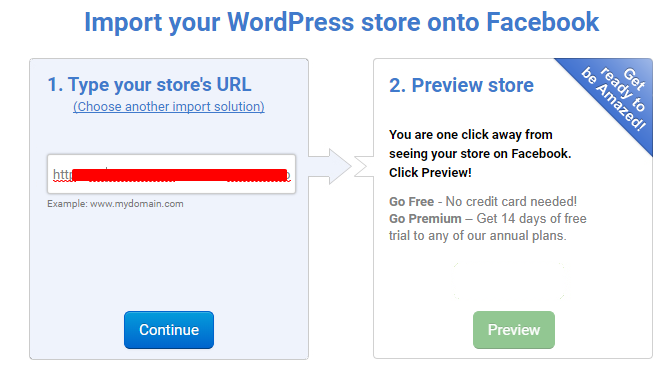
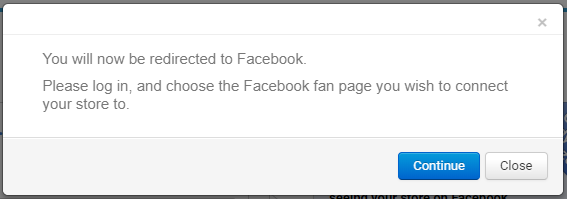
However, if you want to see the preview, click “Preview” button. A popup appears, which says:
“You will now be redirected to Facebook.
Please log in, and choose the Facebook fan page you wish to connect your store to.”
Then, click “Continue” button.
Select the Facebook page which you have previously created and click “Add Page Tab” button.

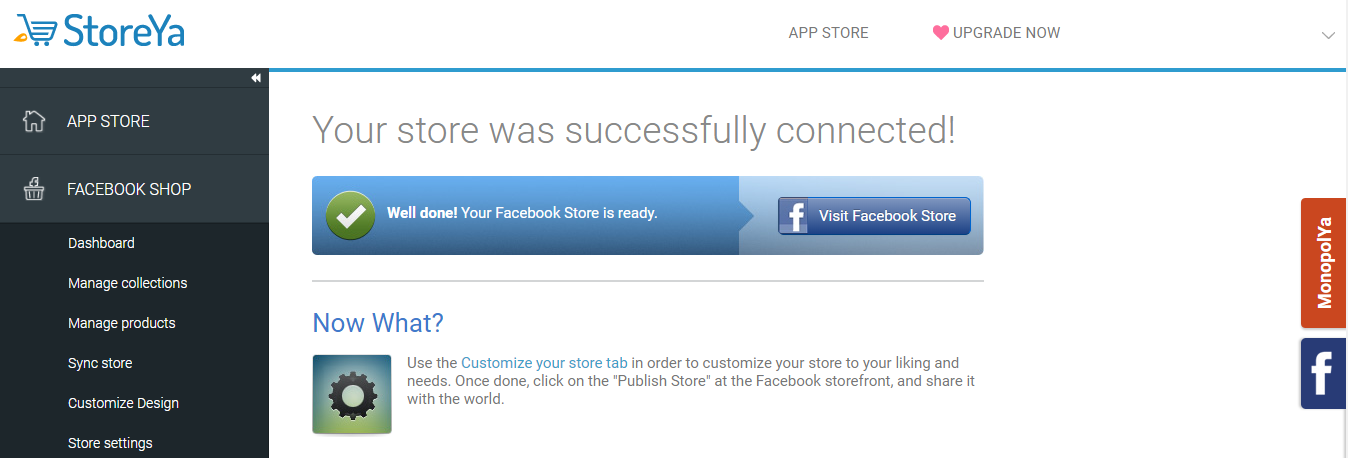
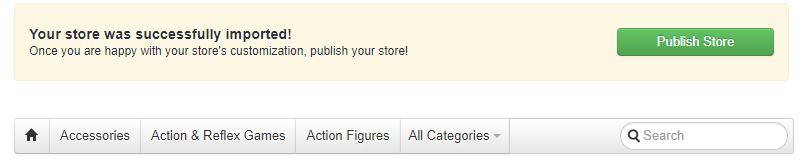
Now you will be redirected to your “StoreYa Dashboard” with the below text:
“Your store was successfully connected!”
Then click “Visit Facebook Store” to see how your ecommerce store looks like on Facebook page.
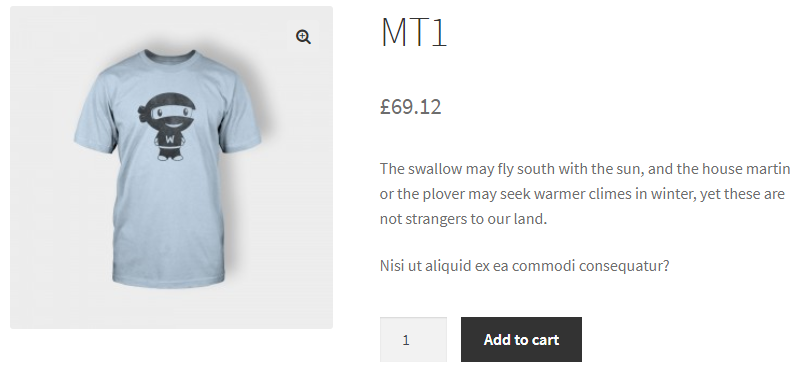
You can see that everything is there, including images, prices, categories, etc.
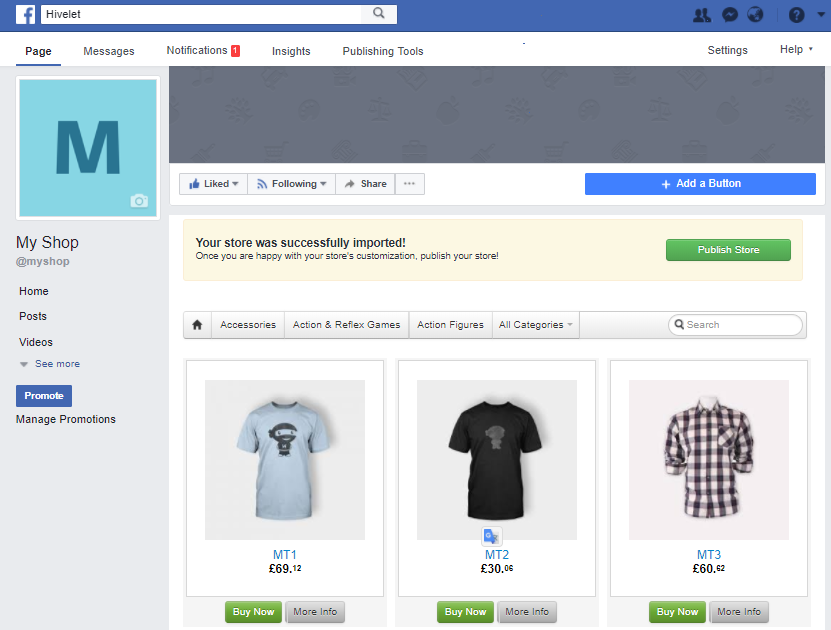
Click “Publish Store” button to publish your ecommerce store on Facebook.
After that, if users click “Buy Now” button, they automatically redirect to the product page of your website.
Wrapping Up!
That’s it! I believe after following this tutorial carefully, you can easily integrate and setup Facebook store and get an increase in the sales. Although if you still have any issue regarding this tutorial, feel free to ask me via the comment section below.
Also Read: Facebook for WooCommerce: How to Integrate It Using StoreYa Plugin

Create Faster WordPress Websites!
Free eBook on WordPress Performance right in your inbox.

Moeez is ‘The’ blogger in charge of WPblog. He loves to interact and learn about WordPress with people in the WordPress community. Outside his work life, Moeez spends time hanging out with his friends, playing Xbox and watching football on the weekends. You can get in touch with him at moeez[at]wpblog.com.