How to Configure Google Search Console on WordPress

Google Search Console (previously known as Google Webmaster) is a free tool that allows users to review the status of their website in Google search engine, optimize the visibility of the websites in Google rankings, and get proper error reporting of the web pages.
Steps to Configure Google Search Console
In this article, I will introduce Google Search Console and how to add WordPress website to Google Search Console.
1. What Is Google Search Console?
When considering SEO for your WordPress website, you simply could not afford to ignore Google. Google Search Console is an important tool that provide a host of information about your website. In particular, Google Search Console provides error stats, crawling information and pages errors (404, 403, 500, etc) and related information.
2. How To Add WordPress Website To Google Search Console?
The first step of the process is to go the Google Search Consoles and sign in using your Google account.
If you do not have any website currently in the list, you will see a button saying “ADD A SITE.”
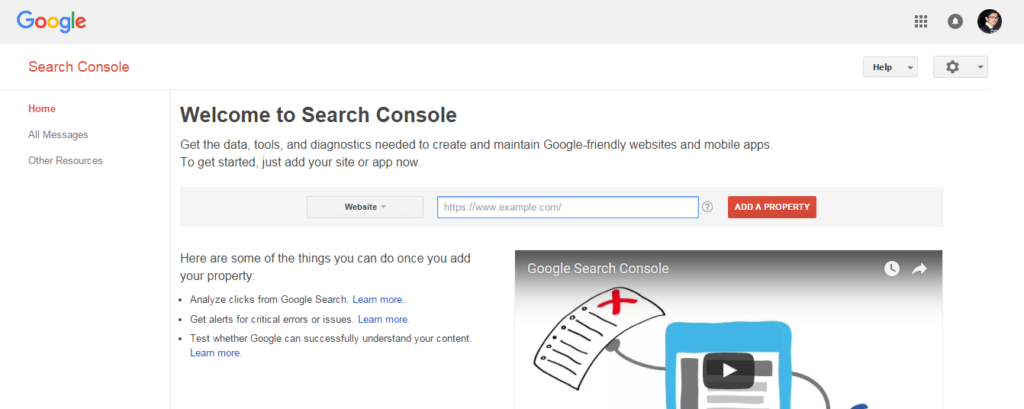
Enter the URL of your website and hit Add A Property button.
You will now be directed to a new page with options to verify the ownership of your website. The two methods listed on the page are the Recommended method and the Alternative methods.
Recommended Method
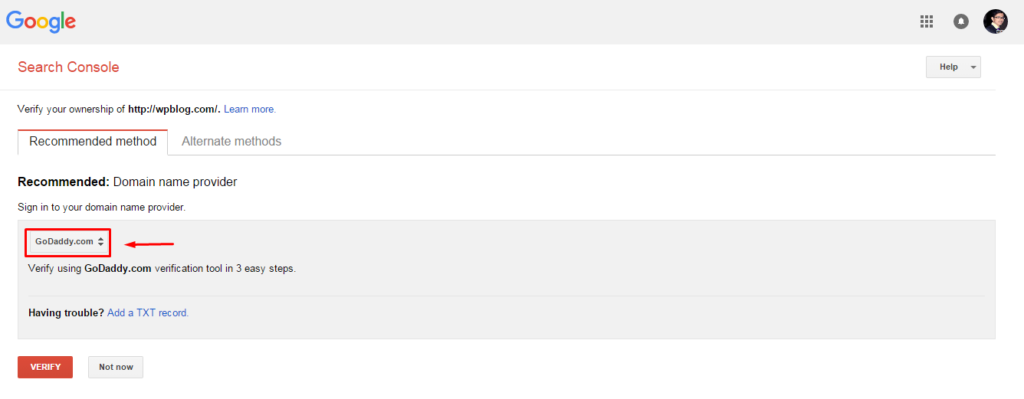
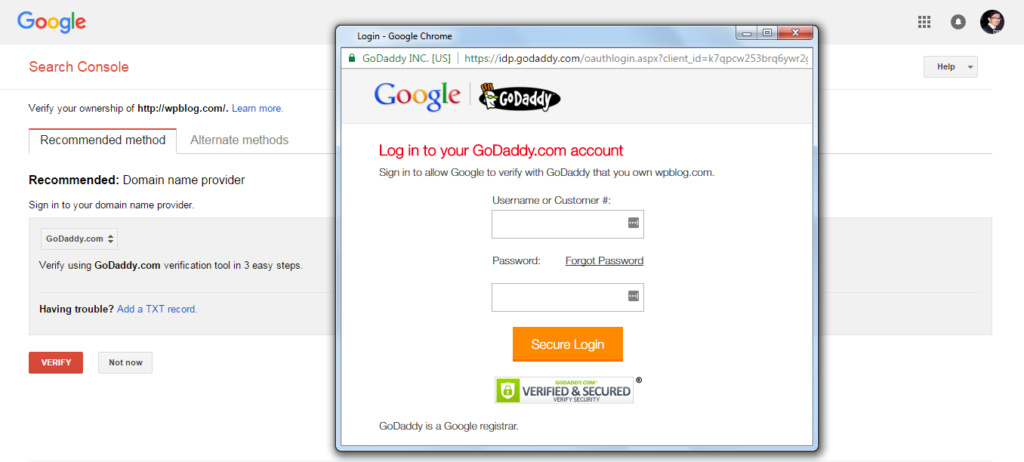
Choose your domain registrar and hit the Verify button, A popup window will appear with the option of signing into the domain registrar account, For the purpose of this article, assume that the domain registrar is Godaddy.
Once the login process finishes, the authentication finishes.
Alternative Method
If you choose to go with an Alternative method, there are various options to choose from (check out the screenshot below!).
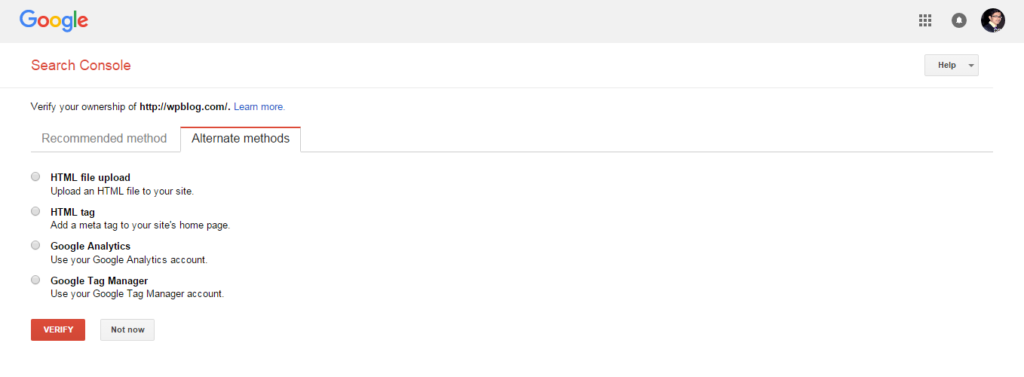
Among these, I recommend the HTML Tag option because of its simplicity.
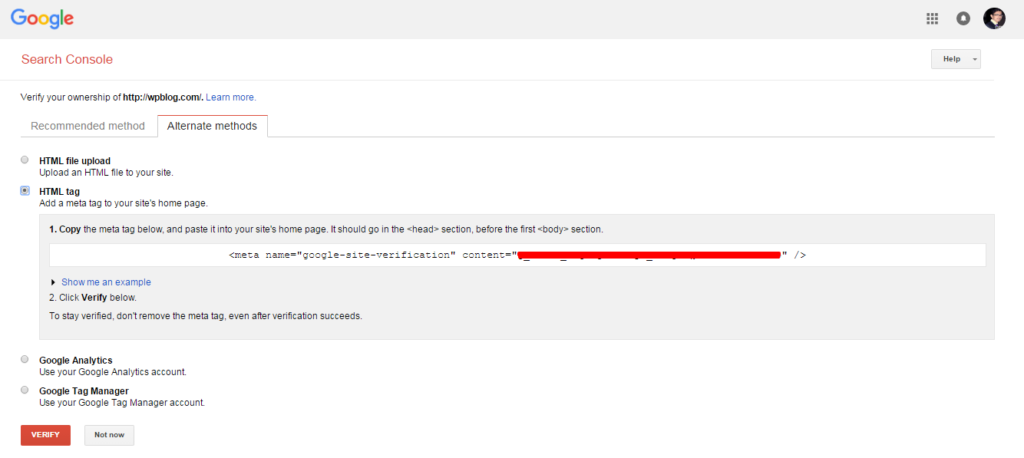
Copy the meta tag and login to your WordPress website. Navigate to Appearance > Editor and Sidebar. You could see the header.php in the right sidebar.
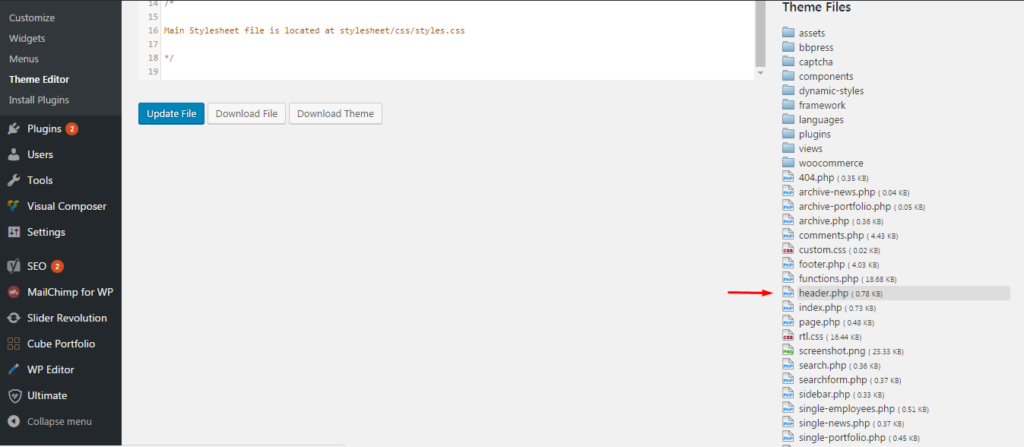
Open this file in the Editor and locate the <head> tag. Paste the copied code into it.
Save the file to finish the verification process.
Conclusion
In this article, I introduced Google Search Console and discussed how to add add your website to the Search Console. I strongly recommend using this tool to understand the areas where your website requires attention in terms of SEO. If you have any problems during the process discussed or would like to add to the discussion, do leave a comment below.
Frequently Asked Questions
Q1. How to use Google Search Console?
- Add and verify your website on Google Search Console
- Add an HTML tag
- Upload the HTML file
- Verify using domain name provider
- Add Google Analytics code
Q2. How to upload Google html verification file WordPress?
After downloading the HTML verification file, upload the file in your domain root directory. For most cases in public_html or www folder. After you have uploaded the file click on verify button.

Create Faster WordPress Websites!
Free eBook on WordPress Performance right in your inbox.

Moeez is ‘The’ blogger in charge of WPblog. He loves to interact and learn about WordPress with people in the WordPress community. Outside his work life, Moeez spends time hanging out with his friends, playing Xbox and watching football on the weekends. You can get in touch with him at moeez[at]wpblog.com.